How to Host Your AI Agents and MCP Servers on Langflow Anywhere
This guide will walk you through deploying Langflow to a variety of popular hosting platforms - FlightControl, Fly.io, Render, and Hetzner - transforming your local projects into globally accessible AI powerhouses.

Langflow is a fantastic visual agentic framework for developers to build sophisticated AI applications, from intelligent agents and multi-step chains to powerful MCP (Model Context Protocol) servers. Its drag-and-drop interface allows for rapid iteration and experimentation. But what happens when your masterpiece is ready for the world? Running Langflow locally is great for development, but to truly unlock its potential—exposing it via an API, integrating it into user interfaces, or sharing it with your team—you need to host it.
This guide will walk you through deploying Langflow to a variety of popular hosting platforms - FlightControl, Fly.io, Render, and Hetzner - transforming your local projects into globally accessible AI powerhouses.
This guide is also available as a video below for visual learners.
The Challenge: From localhost to Live
When you spin up Langflow locally (often with a command like docker run -p 7860:7860 langflowai/langflow:latest), it's typically available on a local address like 0.0.0.0:7860 or localhost:7860. This is perfect for individual development and testing. However, these local addresses aren't accessible over the internet, meaning your AI fitness coach, personal email assistant, or automated workflow remains confined to your machine. To share it, you need to deploy it.
Your Starting Point: The host-langflow Repository
To simplify the deployment process significantly, we've created the datastax/host-langflow repository on GitHub. This open-source project provides pre-configured setups and Dockerfiles tailored for various hosting providers.
Your first crucial step for any of the deployment methods below is to fork this repository to your own GitHub account. This gives you a personal copy you can connect to hosting services.
Deployment Blueprints: Hosting Langflow Your Way
Here are several ways to get your Langflow instance up and running online, catering to different preferences for ease of use, control, and cost.
1. FlightControl (AWS)
FlightControl offers a streamlined developer experience for hosting applications on top of Amazon Web Services (AWS), abstracting away much of the underlying AWS complexity.
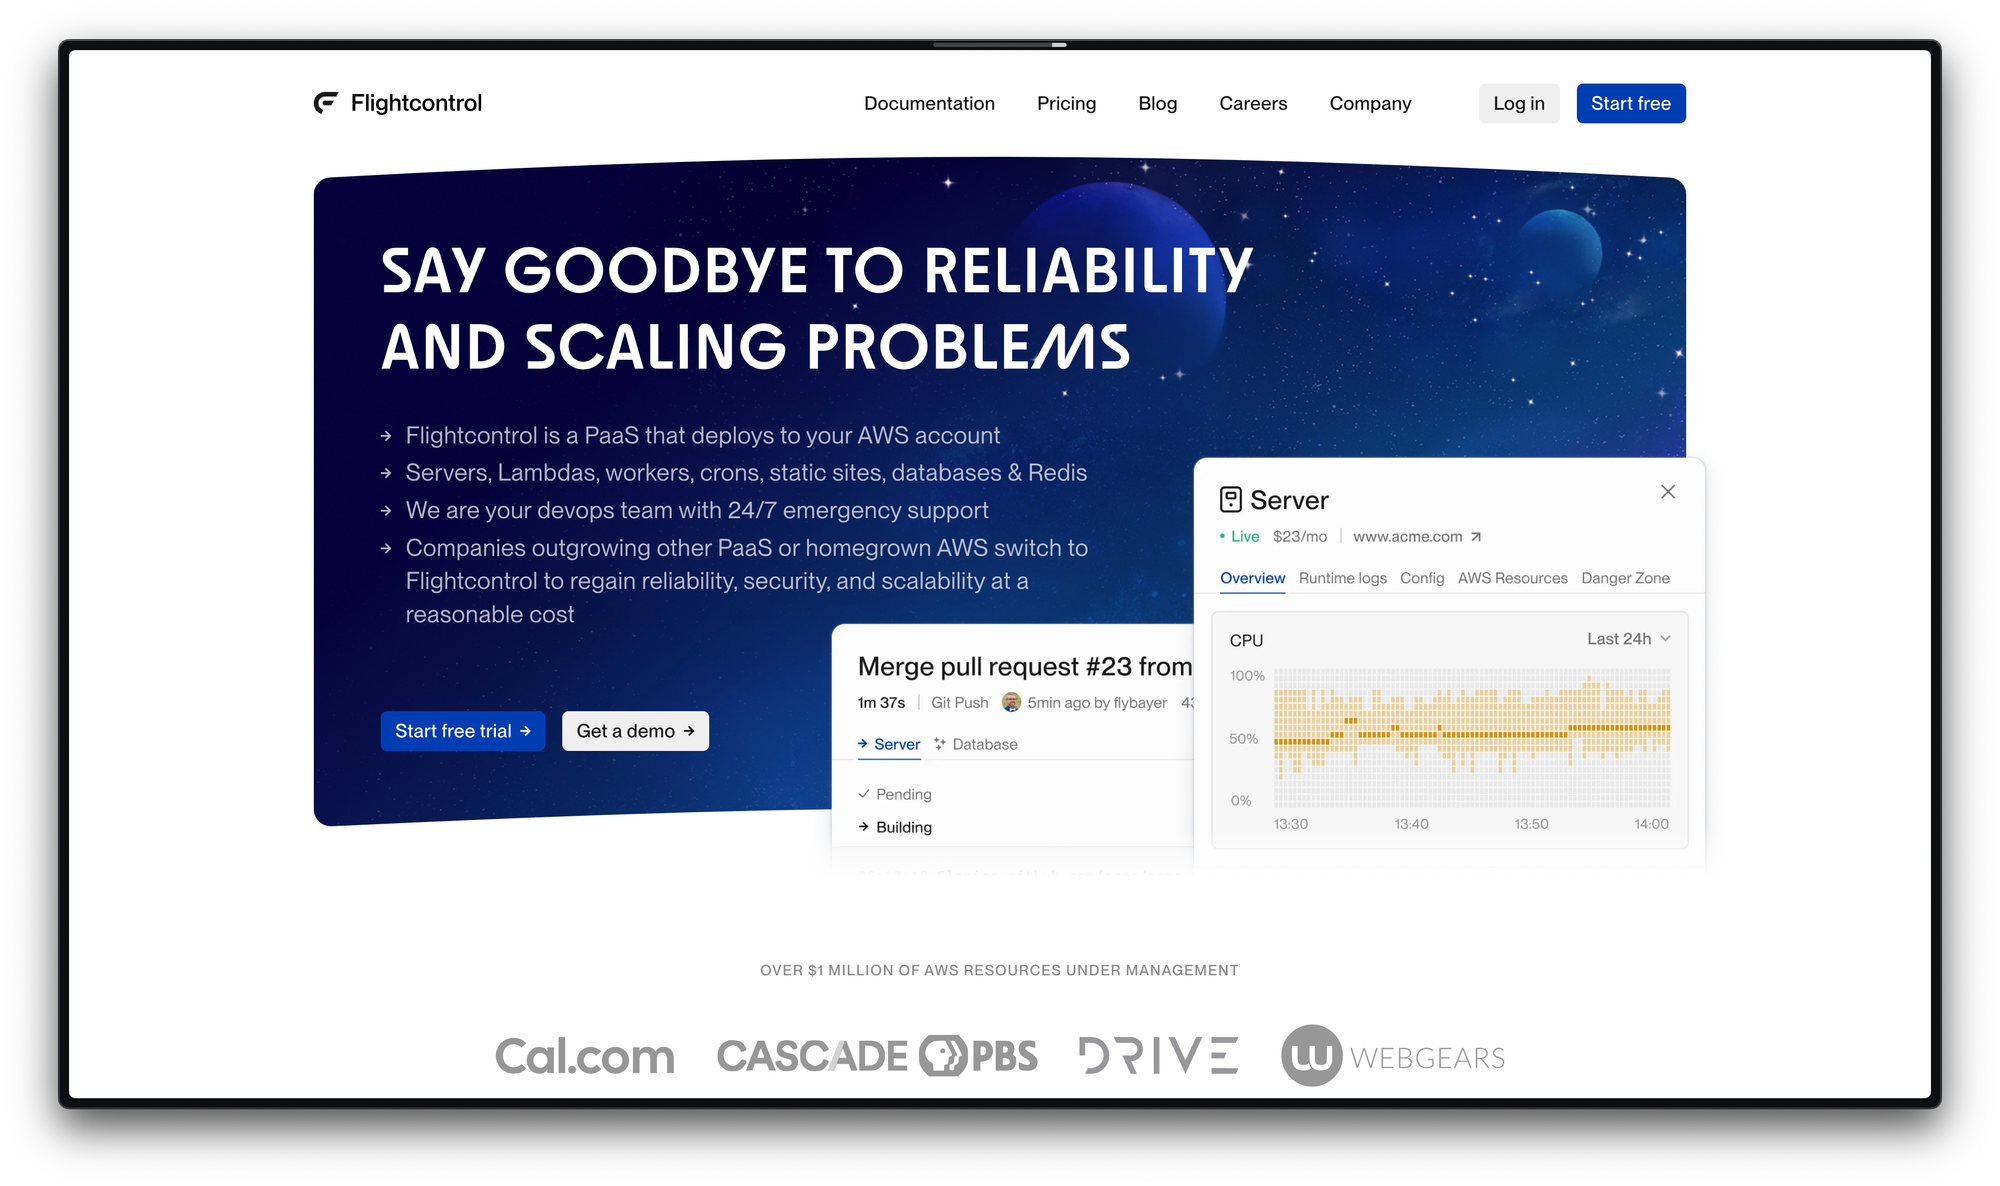
- How it works: You connect your forked
host-langflowrepo, and FlightControl handles provisioning and managing the necessary AWS resources. - Key Steps:
- After forking
host-langflow, sign up or log in to FlightControl. - Create a new project, selecting "Connect to GitHub repository" and choosing your fork.
- Link your AWS account and select your preferred region (e.g.,
eu-central-1in Frankfurt if you're in Europe). - For the project setup, choose to "Build your own" configuration.
- Select "Web Server (Docker)" as the service type.
- Configure the service:
- Build Type: Dockerfile
- Dockerfile Path: (leave as default, it will find it in the repo)
- Port:
7860(Langflow's default internal port) - Health Check Path:
/health
- Choose an appropriate instance size (e.g., a 2GB Fargate instance is a good start).
- Add the service and create the project. Deployment can take around 10-15 minutes.
- After forking
2. Fly.io
Fly.io is a hosting platform known for its ease of use in deploying applications globally, close to your users.
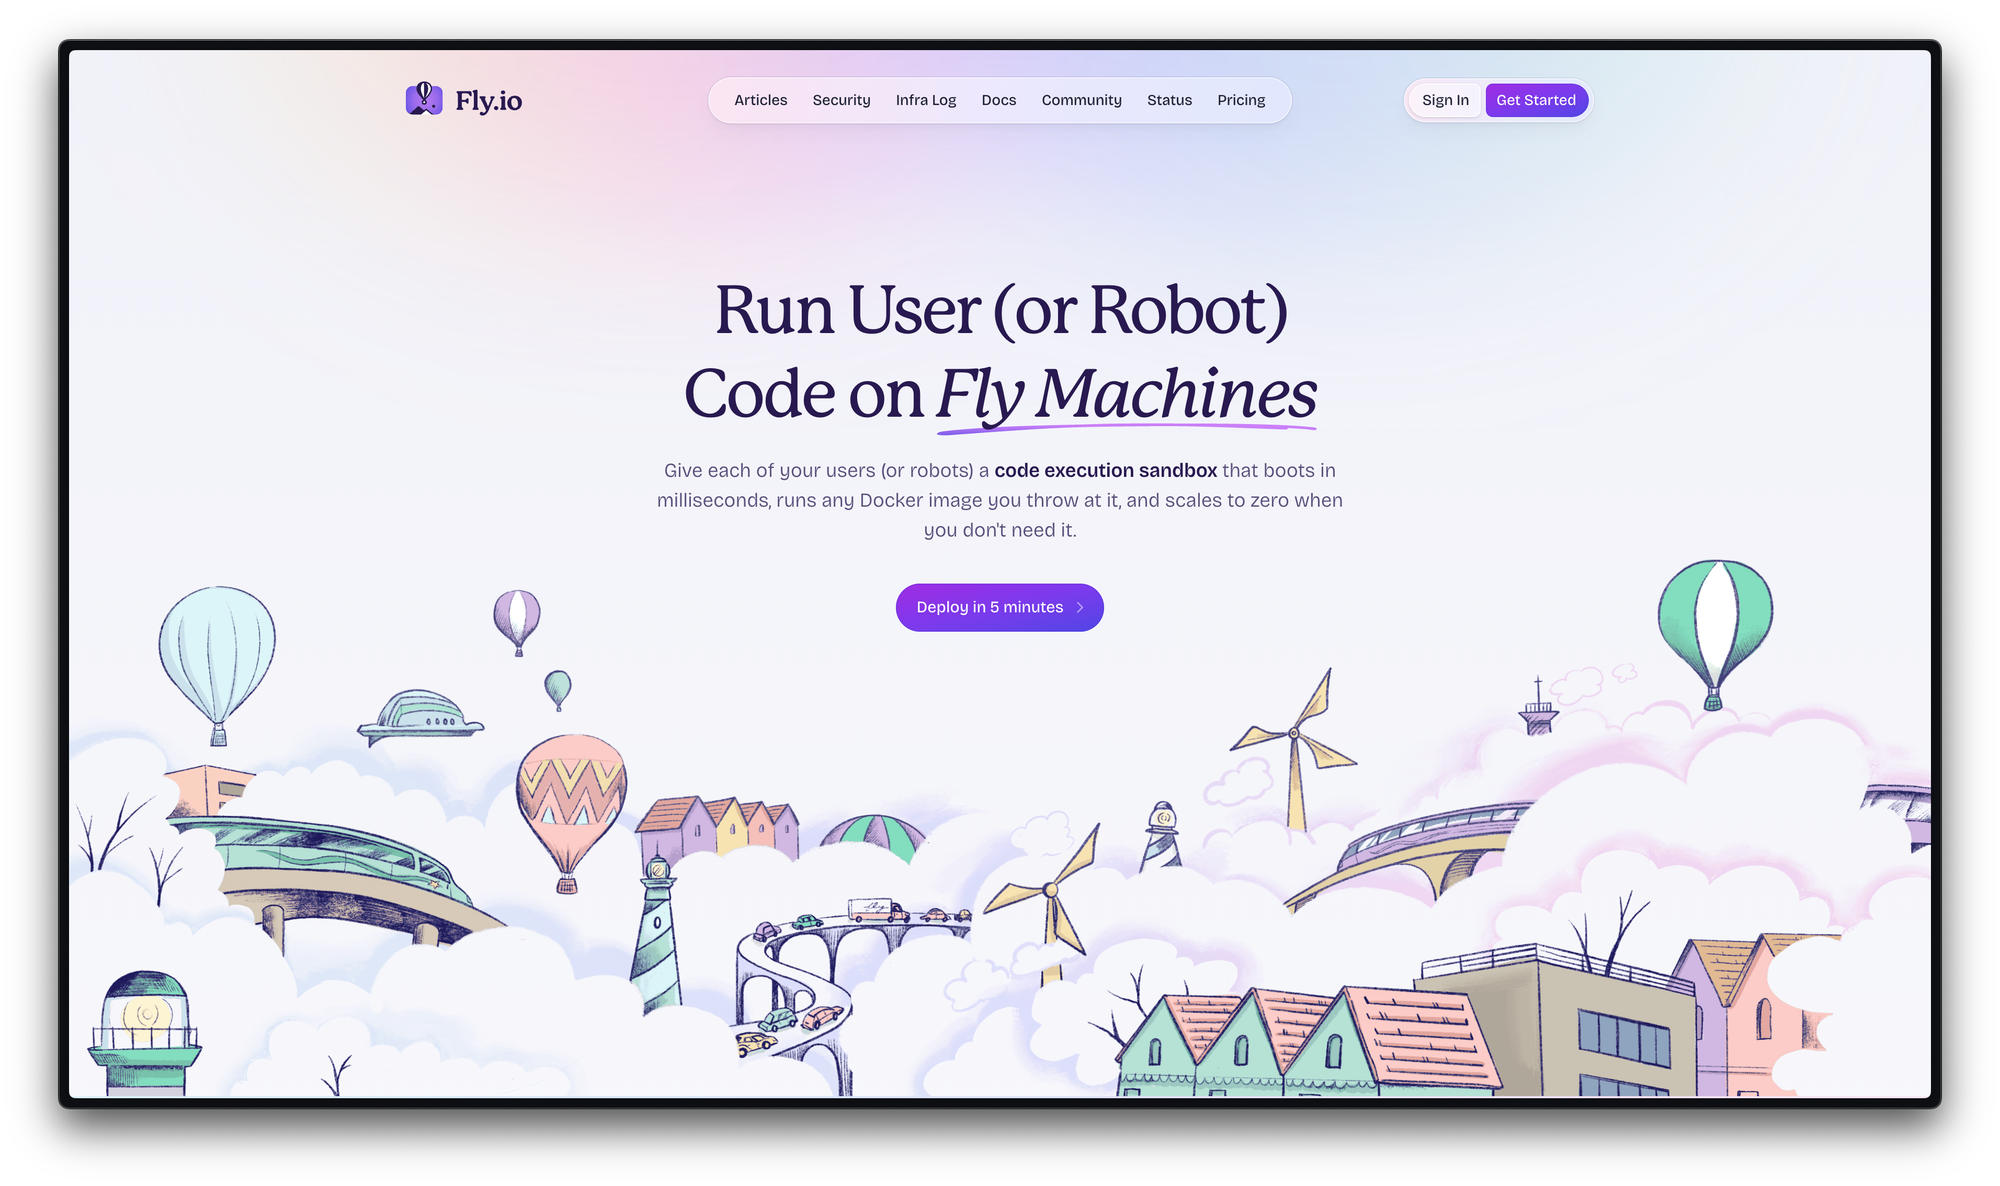
- How it works: Fly.io can build and deploy your Langflow application from your forked repository's Dockerfile.
- Key Steps:
- Fork
datastax/host-langflow. - In your Fly.io dashboard, launch a new app.
- Choose to deploy from a GitHub repository and select your fork.
- During configuration:
- Internal Port:
7860
- Internal Port:
- You'll need to ensure your machine has enough resources. Langflow benefits from at least 2GB of RAM; 4GB is even better for smoother performance. Select an appropriate machine size (e.g., "Performance 1x" or "Performance 2x" with 4GB RAM).
- Confirm and deploy. Fly.io is generally quite fast with deployments.
- Fork
3. Render.com
Render.com aims to be the "fastest path to production," offering a straightforward platform for web services, including Dockerized applications like Langflow.
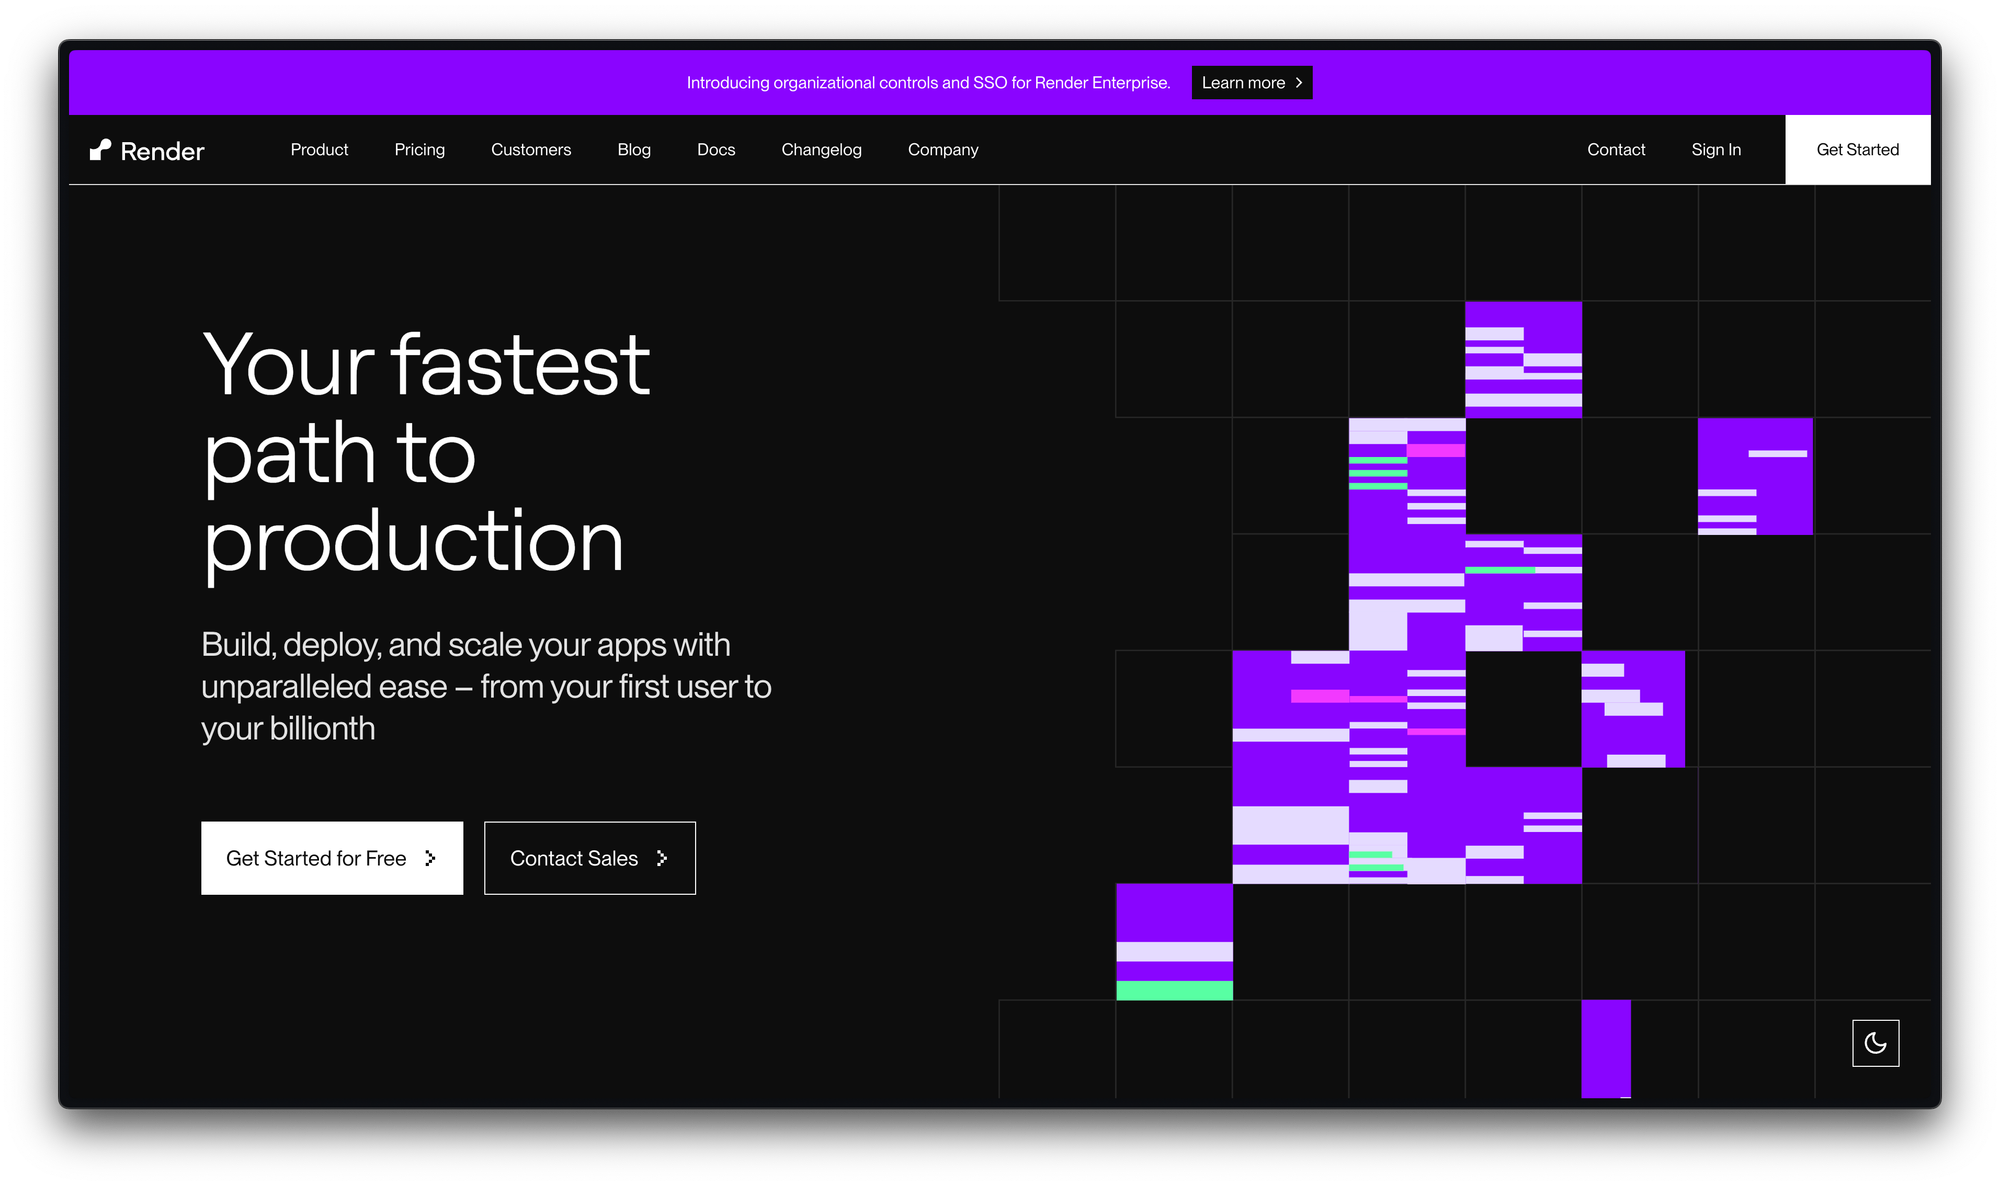
- How it works: Render connects to your fork, builds the Docker image, and deploys it as a web service.
- Key Steps:
- Fork
host-langflow. - In your Render dashboard, create a "New Web Service."
- Connect your GitHub account and select your
host-langflowfork. - Provide a service name (e.g.,
my-langflow-app). - Set the Environment to "Docker."
- The Root Directory can usually be left blank if the Dockerfile is at the repo root.
- Choose an instance type. Again, aim for at least 2GB of RAM (Render's "Standard" plan often offers this), with 4GB being a comfortable spot for many Langflow use cases.
- Under "Advanced," ensure the Port is set to
7860. - Create the web service and watch it deploy.
- Fork
4. Hetzner (Bare Metal / VPS)
For those who prefer more control or are looking for cost-effective virtual private servers (VPS) or even dedicated servers, Hetzner is a popular choice. This method is more hands-on but offers great flexibility. This is the method where you just have an empty machine and you set it up for web hosting, specifically hosting Langflow.
- How it works: You provision a server, SSH into it, clone your repo, and use Docker Compose to run Langflow.
- Key Steps:
- Fork
host-langflow. - In the Hetzner Cloud console, create a new project and add a server.
- Configure your server:
- Location: Choose a datacenter (e.g., Nuremberg).
- Image: Ubuntu (e.g., 22.04 or newer).
- Type: Select a server with adequate resources (e.g., CX21 or CPX21 offering 2 vCPUs and 4GB RAM is a good starting point).
- Networking: Ensure it has a public IPv4 address.
- SSH Key: Add your public SSH key. If you don't have one, generate it locally (e.g.,
ssh-keygen -t ed25519 -C "your_email@example.com") and copy the contents of~/.ssh/id_ed25519.pub.
- Name your server and create it.
- Once the server is running, copy its IP address.
- SSH into your server:
ssh -i /path/to/your/private_key root@YOUR_SERVER_IP - Install necessary tools (if they aren't pre-installed):
- Git:
apt update && apt install git -y - Docker & Docker Compose: The transcript mentions
snap install docker. Alternatively, follow official Docker installation docs for Ubuntu.
- Git:
- Clone your forked repository:
git clone https://github.com/YOUR_GITHUB_USERNAME/host-langflow.git - Navigate into the bare metal setup directory:
cd host-langflow/bm/ - Start Langflow and the Caddy web server (for reverse proxy and SSL):
docker-compose up -d(the-druns it in detached mode). - Access Langflow via
http://YOUR_SERVER_IP. - For HTTPS (Recommended):
- Ensure you have a domain name.
- Point your domain's A record to
YOUR_SERVER_IPin your DNS settings. - Edit the
Caddyfilein thebmdirectory. Change the first line from:80to your domain name (e.g.,yourdomain.com). Caddy will automatically provision an SSL certificate from Let's Encrypt. - Restart Caddy:
docker-compose restart caddy(ordocker-compose up -d --force-recreate caddy).
- Fork
Why This Matters: Empowering Your AI Development
Deploying Langflow on the internet opens up a realm of possibilities:
- Host MCP Servers: you can now leverage Model Context Protocol from any client—on your phone, work laptop, home desktop, etc. using your own, centralized, self-hosted online MCP server powered by Langflow.
- Rapid Prototyping to Production: Seamlessly transition from visual design in Langflow to a live, interactive AI application.
- API-First AI: Expose your Langflow flows as robust APIs that can be consumed by any frontend, mobile app, or backend service.
- Team Collaboration: Share your running Langflow instances with team members for testing, feedback, or integration.
- Choose Your Infrastructure: Select the hosting provider that aligns with your technical comfort, performance requirements, and budget.
- Showcase Your Work: Demonstrate your AI creations to clients, stakeholders, or the wider community.
Langflow isn't just a tool; it's backed by a vibrant and rapidly growing community of developers, researchers, and AI enthusiasts. By deploying your Langflow projects and sharing your experiences, you contribute to this exciting ecosystem. Whether you're building a simple Q&A bot or a complex autonomous agent system, your work can inspire others and push the boundaries of what's possible.
Your Turn to Deploy: Try Langflow Today!
Ready to take your AI projects from your local machine to the global stage?
- Visit Langflow's official website to learn more and get started with the basics.
- Fork the
datastax/host-langflowrepository. - Choose your preferred hosting provider.
- Follow the steps to deploy your Langflow instance.
Once you're up and running, dive into building! Create innovative AI applications, experiment with different models and agents, and see your ideas come to life.
We're incredibly excited to see what you build! Share your projects, ask questions, and connect with fellow developers on the official Langflow Discord server and follow Langflow on X (formerly Twitter) for the latest updates and community highlights!